
Connecting Mailchimp to your LeadsWithDemos account enables you to automate and streamline your email marketing campaigns. This article provides step-by-step instructions to help you set up and manage this integration effectively.
Step-by-Step Instructions:
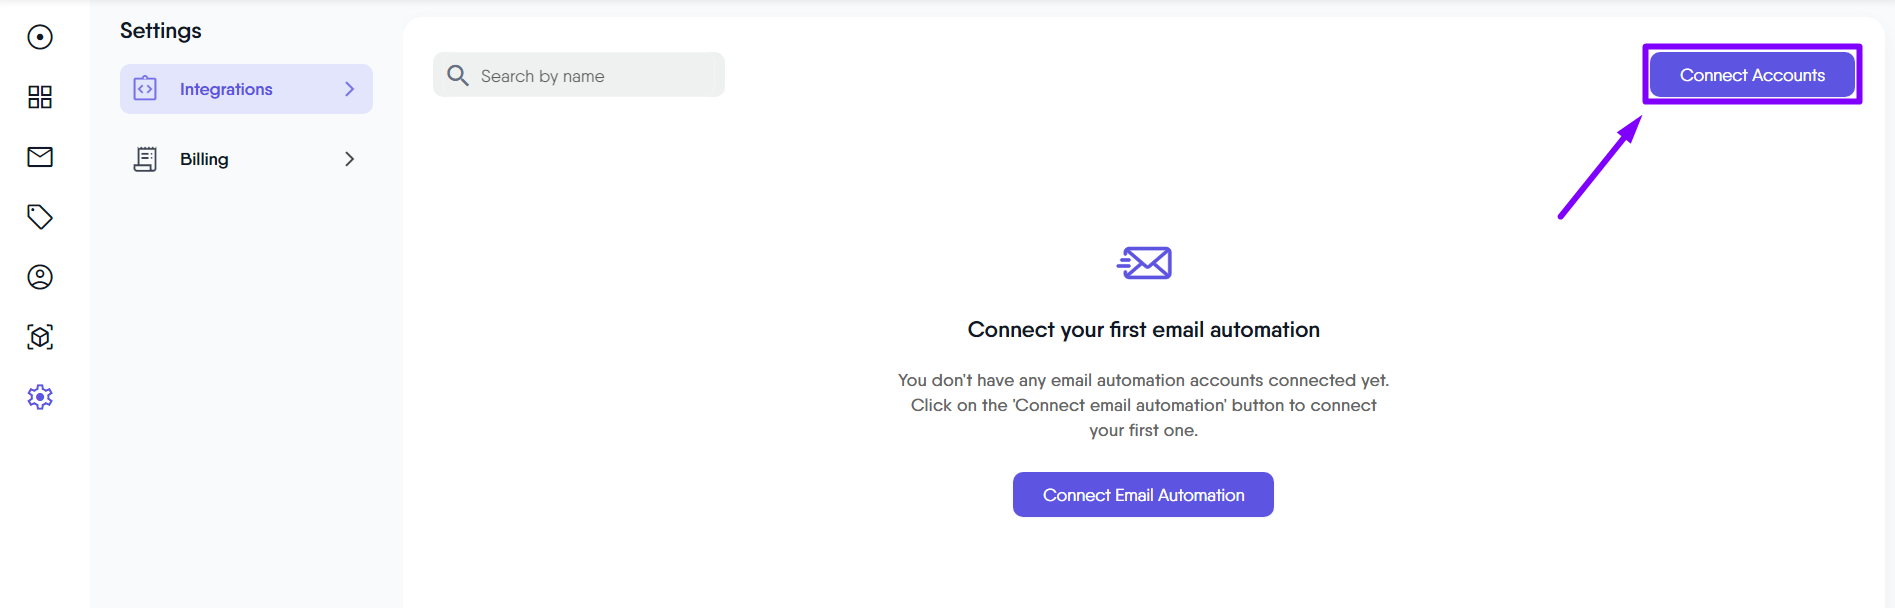
Step 1: Initiate Account Connection
- Navigate to the ‘Settings’ section.
- Select ‘Integrations’ from the left-hand menu.
- Click on the “Connect Accounts” button.
Step 2: Select Mailchimp
- Select Mailchimp from the dropdown list in the popup window.
- Click on “Add Account.”
Step 3: Provide Required Information
A form will appear, requiring you to provide specific details for the Mailchimp connection. Fill in the Following Fields:
- Email Marketing Service: Select ‘MailChimp’ from the dropdown.
- Account Name: Enter a custom name for your account to easily identify it later, e.g., “My MailChimp Account.”
- API Key: Enter the API key from your Mailchimp account. This can be found under the API keys section in your Mailchimp account settings.
Step 4: Authorize the Connection
After filling up all the required fields, click the “Authorize” button to complete the connection process.
Step 5: Select Email Audience List
- Once authorized, a new popup will appear prompting you to select an email audience list.
- Click on the dropdown and choose the desired audience list from your Mailchimp account.
- Select Email Audience List.
- Click on “Add Account” to finalize the integration.
Step 6: Confirmation
- A confirmation message will appear indicating that Mailchimp has been connected successfully.
- Your Mailchimp account will now appear in the list of integrations with the status marked as ‘Connected’.