
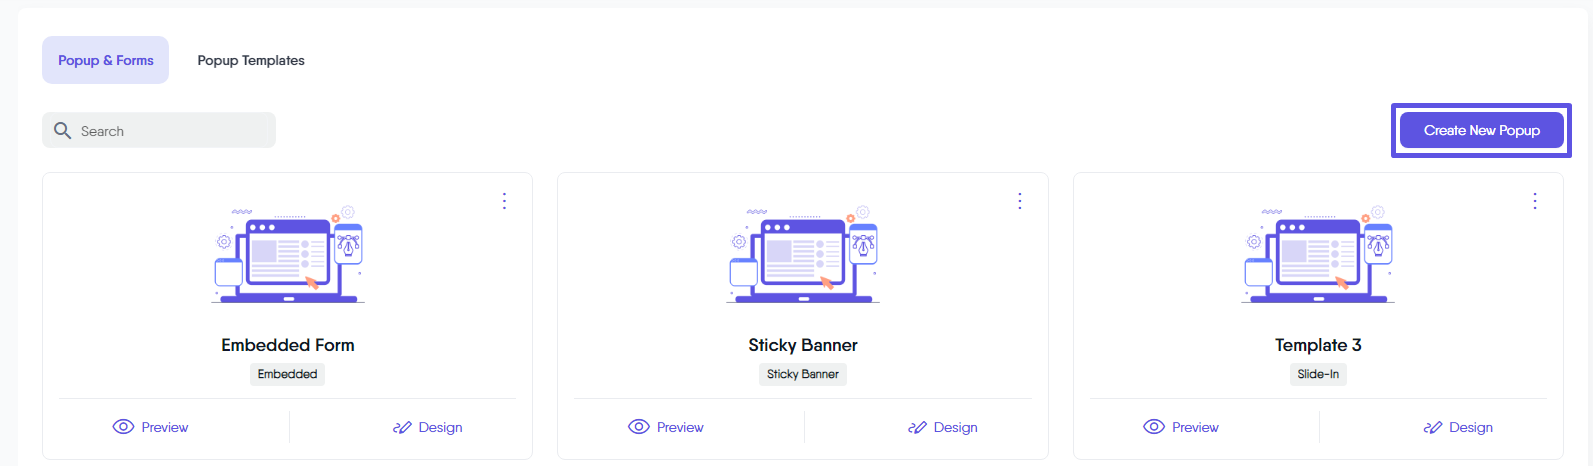
Add New Popup
To create a new popup or embedded form, click on the ‘Add New Popup’ button. Once clicked, you’ll begin by defining the popup’s name and type.
Popup Name
This feature allows you to name your popup or embedded form, making it easier to organize your content and quickly identify each item.
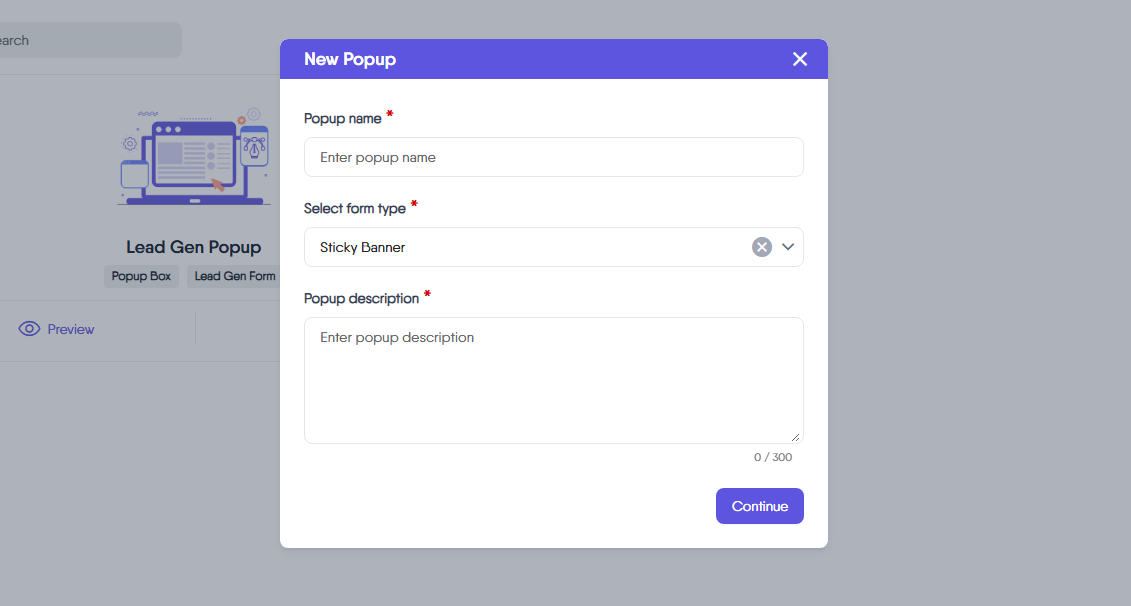
Select Form Type
Here, you can choose the type of pop-up or form you wish to create, whether for your own website, or a LeadsWithDemos landing page. The available pop-up and form types include:
Sticky banner
A horizontal banner that can be positioned at the top or bottom of the screen. It is ideal for consistent visibility.
Popup Box
The Popup Box is a versatile overlay that appears above your webpage content. You can position it in the center, top-left, top-right, bottom-left, or bottom-right of the screen to best suit your design and user experience needs. The Popup Box can be triggered by anchor text, buttons, or its built-in floating button, making it flexible for various engagement strategies.
What sets the Popup Box apart in LeadsWithDemos is its adaptability. While you can use an AI assistant as a lead magnet with any popup and form type, there are instances when you may want to offer the AI assistant as direct support, gathering visitor intent through chat rather than an email capture. For this purpose, the Popup Box is the only popup type that allows you to embed an AI assistant directly, without requiring a gated form. You can use the drag-and-drop builder to combine the AI assistant’s chat interface with other elements, such as ad banners or custom content blocks.
Slide-In
A less obtrusive popup that slides in from the edge of the page. It can appear in the top-right, top-left, bottom-right, or bottom-left corners of your website or LeadsWithDemos landing pages, making direct email capture easy and unobtrusive.
Embedded
This embedded form is seamlessly integrated into the content of any website or landing page.
Popup Description
Here, you can add a description for the popup or form you want to create.
Providing clear values for the popup name and description is important, as this information helps the AI Email Writer automatically draft relevant emails. A well-written description ensures the AI understands the purpose of your popup or form. You can even include links or the names of eBooks, guides, or gated content in the description to help the AI generate more targeted email drafts.
